
If this painting were a priceless Rembrandt, a professional conservator would spend hours aligning every single fabric fibre microscopically and gluing them back together with reversible, conservation-grade adhesives.
However, for your own studio work or everyday paintings, you can achieve a permanent, invisible fix using a much simpler patch method. Here is exactly how to do it.
Tools and Materials Needed
- A pair of sharp scissors
- A piece of raw or primed canvas (similar weight to the original painting)
- Acid-free PVA glue (Polyvinyl acetate – ensure it is artist-grade, not standard school glue)
- Wax paper or silicone release paper (Crucial for protecting the face of your painting)
- A flat piece of MDF, hardboard, or thick cardboard
- A heavy weight (books, a clean brick, or a studio weight)
- A palette knife and artist brushes
- Oil or acrylic paints (plus an optional texturising medium like Liquin Oleopasto or gesso)
Step 1: Prep the Tear and Clean the Face
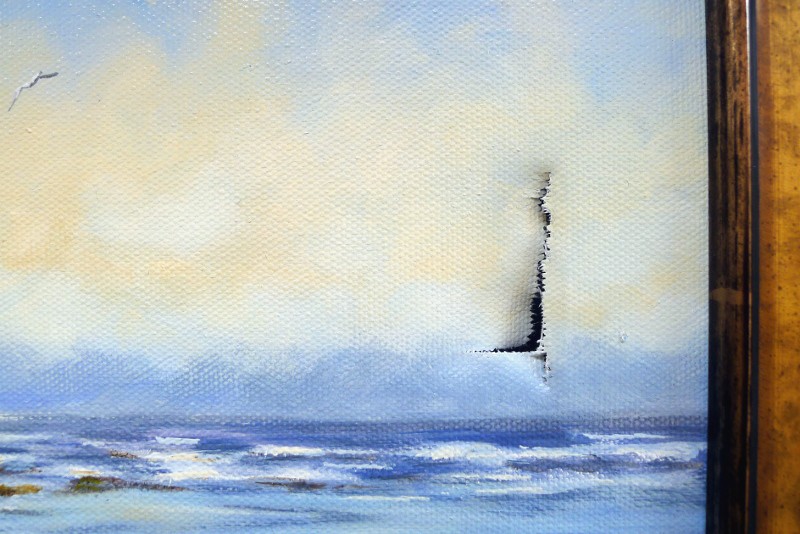
Before gluing anything, lay your painting face-up. Carefully use your scissors to snip away any loose, frayed threads that are sticking up out of the tear. If the canvas fibres are bent outward, gently press them back into alignment so the tear sits as flat and flush as possible.
Note: If your painting just has a dent in it, read how to get a dent out of a painting here.
Step 2: Cut Your Patch
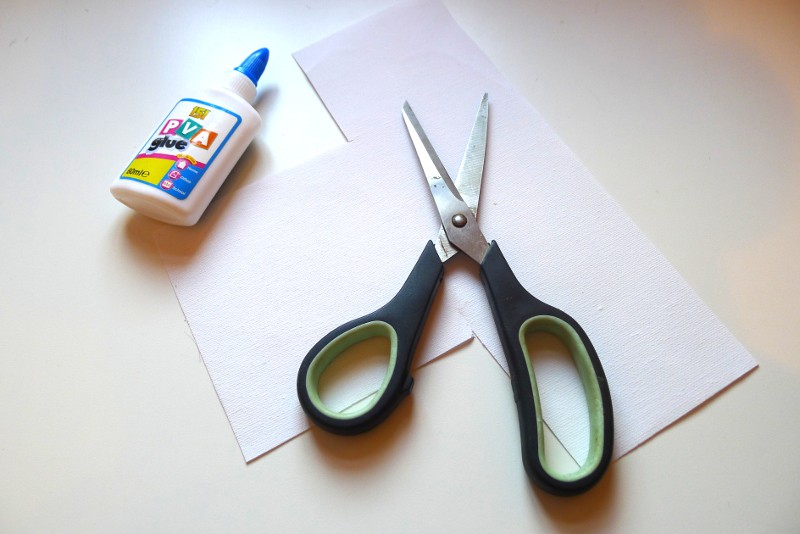
Cut a patch of spare canvas. Make sure it is large enough to cover the tear, plus at least a 3cm overlap on all sides to give it a strong bond.
If you don’t have spare canvas, cut a piece from another blank one. Otherwise, you can buy a budget canvas from any art shop to create your patch.
Step 3: Protect the Front Surface
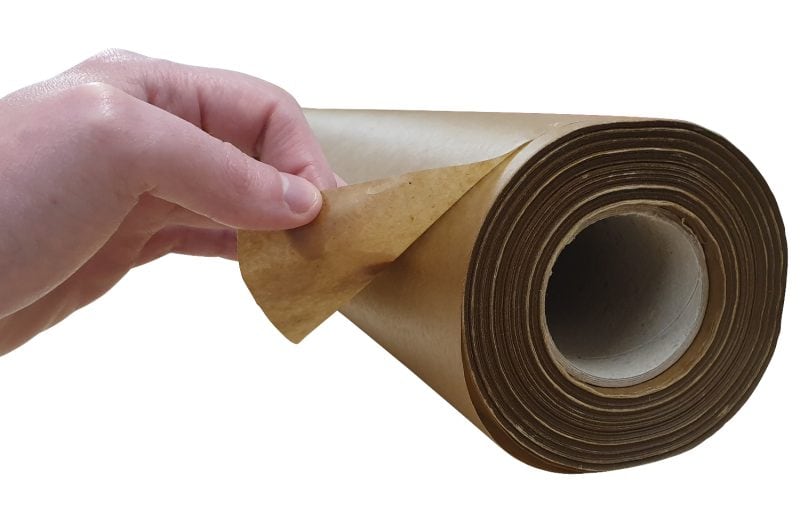
Lay down a sheet of wax paper on your clean, flat work table, then place your painting face-down on top of it.
Why this matters: If any PVA glue squeezes through the tear during pressing, it will seep onto the table and glue the front of your painting down. Wax paper prevents this.
Step 4: Apply the Patch
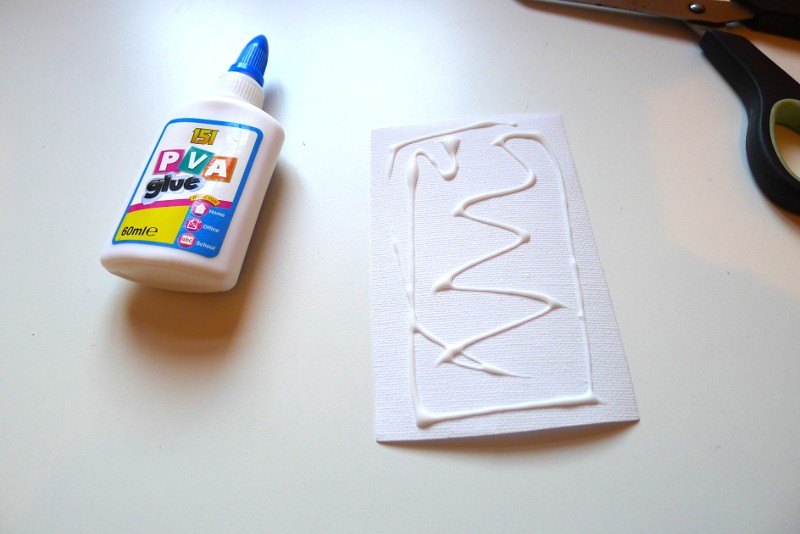
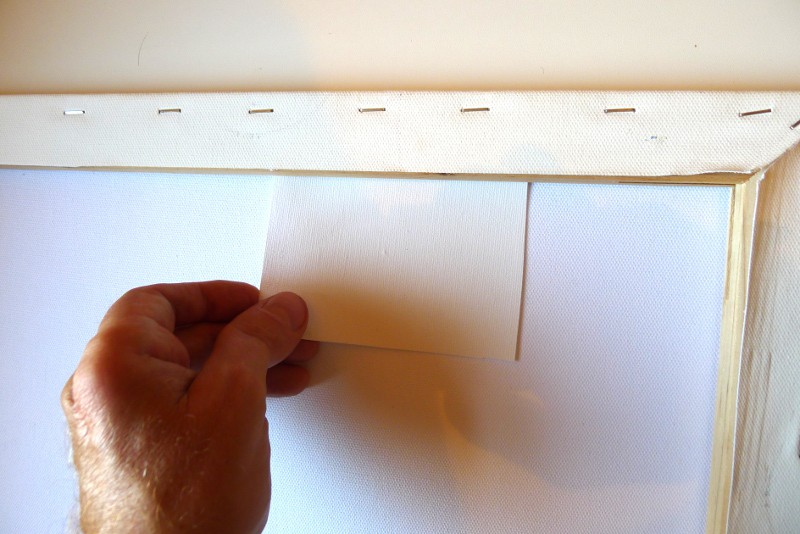
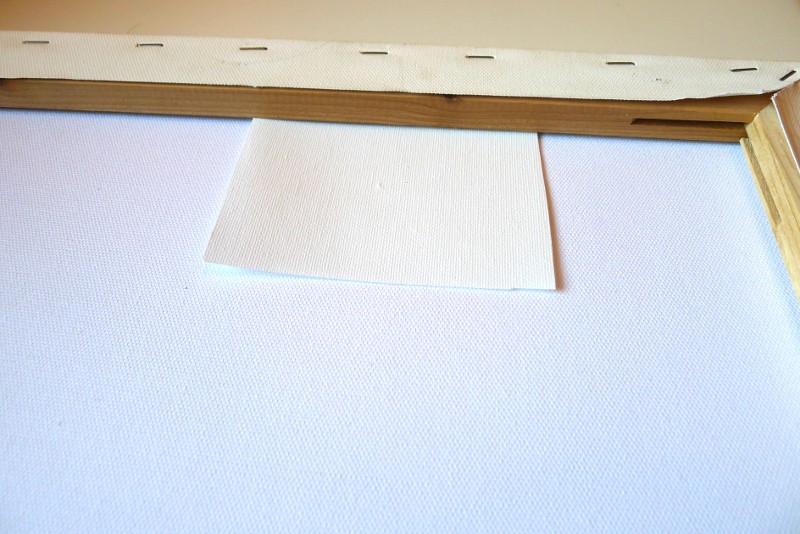
Coat one side of your canvas patch with a generous, even layer of PVA glue. Align the patch over the back of the tear. Try to align the weave (horizontal and vertical threads) of the patch with the weave of the original painting so they expand and contract similarly in changing weather. Press it down firmly from the center outward. Use a damp cloth to wipe away any excess glue that squeezes out.
Note: If your tear is close to the edge like mine was, you may need to gently slide a portion of the patch right under the wooden stretcher bars.
Step 5: Clamp and Weight it Down
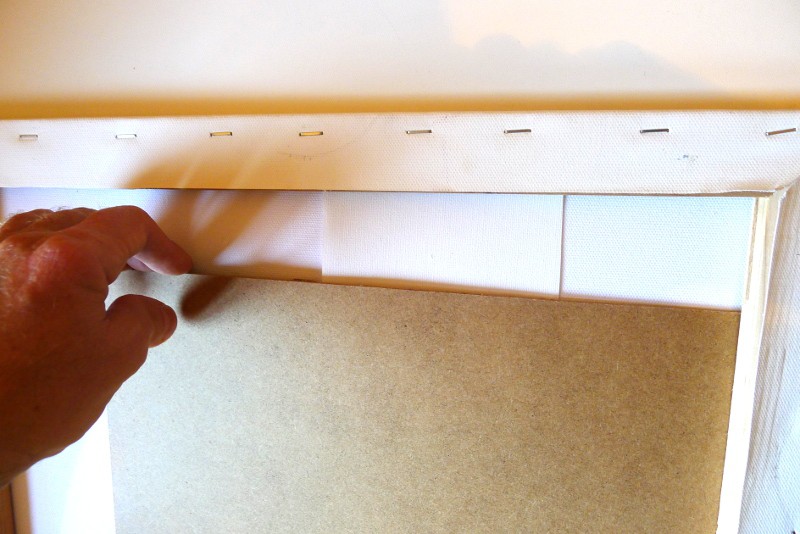
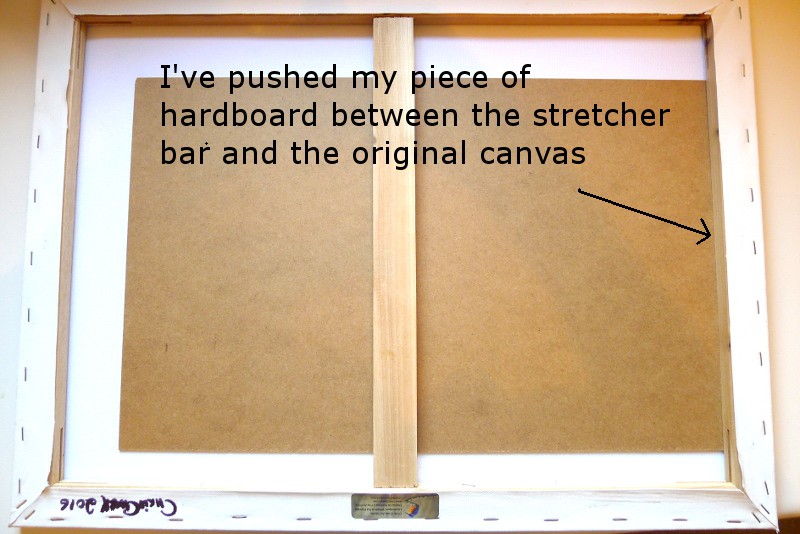
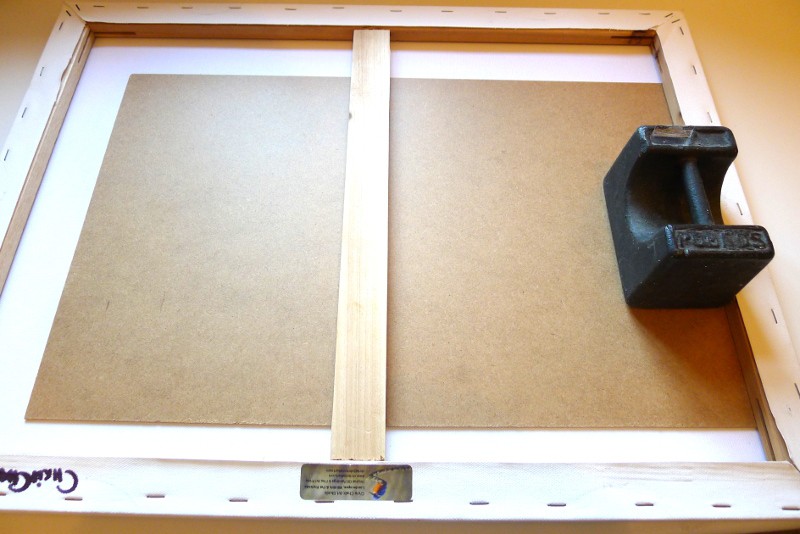
Once the patch is placed in the correct position we need to place another flat surface down onto the back of the patch so that as the glue dries it creates a perfectly flat repair. I’m using a thin sheet of hardboard to do this.
(Again, if the tear is near the edge, slide this board under the stretcher bar). Place a heavy weight on top of the board to clamp the sandwich together. Leave it alone to dry completely for at least 24 hours.
Step 6: Inspect the Bond
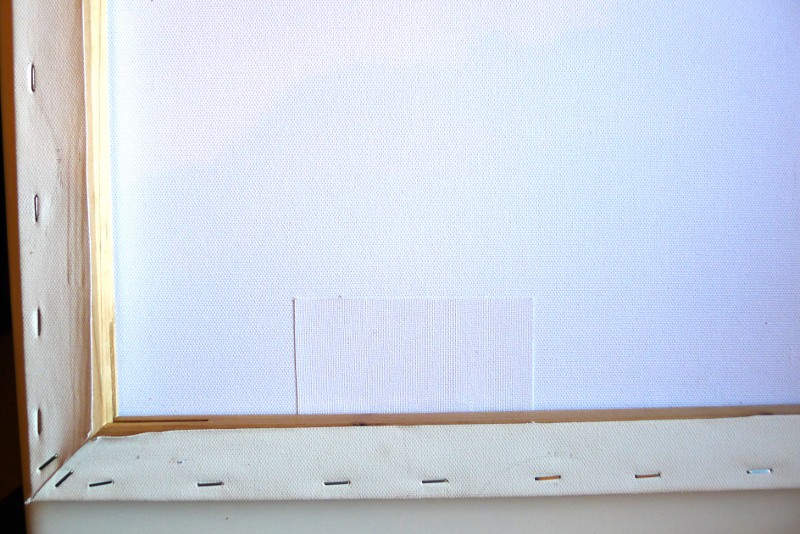
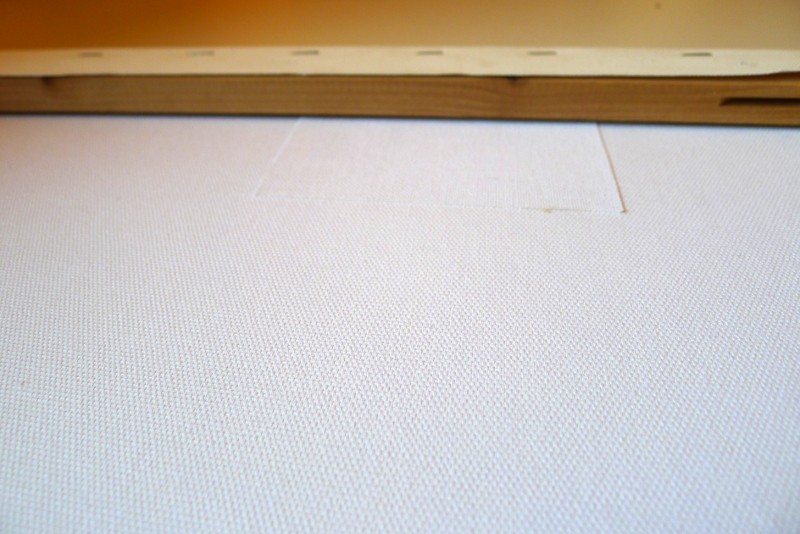
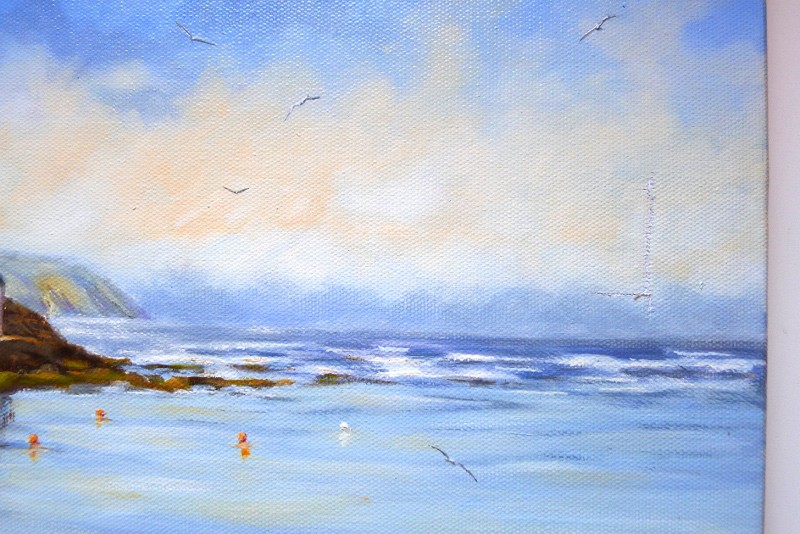
After at least 24 hours, remove the weight and board. Check the edges of your patch. If any edges lift up, use a toothpick or matchstick to slide a little more PVA glue underneath them, re-apply the weight, and give it another 24 hours. Once dry, your canvas will be completely structural and tight again.
Step 7: Fill and Repaint the Front
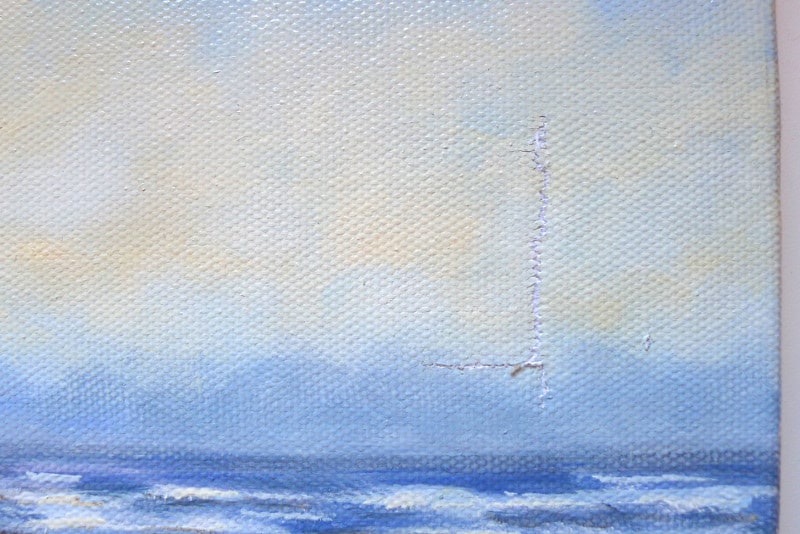
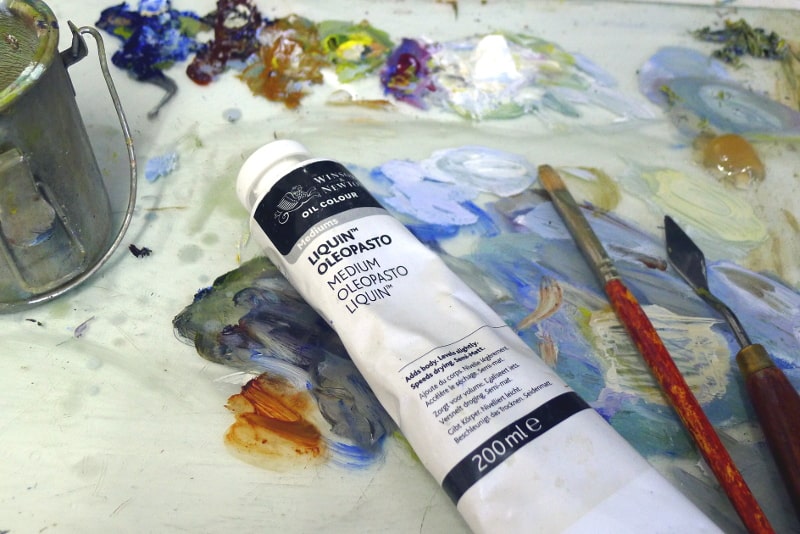
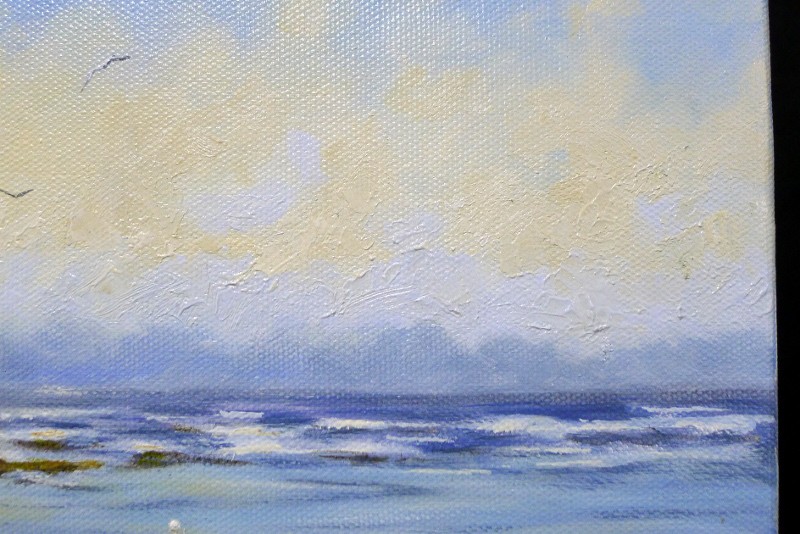
Flip the painting over. You will likely see a faint indentation or scar where the tear used to be.
- To level the surface: Mix a thick medium, like Liquin Oleopasto (for oils) or heavy gel/gesso (for acrylics), directly into your paint. This fills the physical crack so it sits level with the rest of the canvas.
- To disguise the fix: Don’t just paint over the tiny tear line. Re-paint a slightly larger, natural section of the composition (like a whole cloud, a wave, or down to a horizon line). Match the existing brushwork style—using a palette knife or stippling with a brush—so the new paint blends seamlessly into the old.
Once the paint dries, your repair will be entirely invisible from the front, structurally sound, and ready to hang back on the wall!
The Final Result
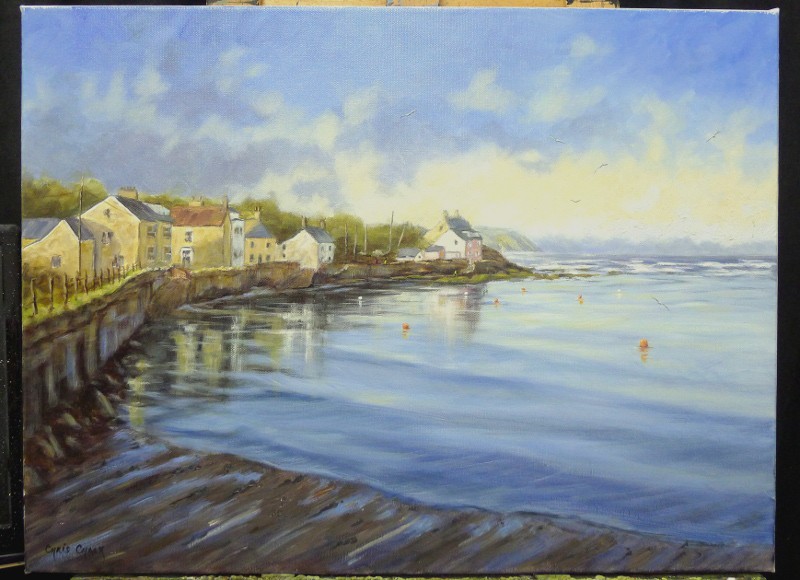
The final result is a permanent repair that will last as long as the rest of the painting, and one that is unnoticeable, unless you look at the back of the painting.
Note: Read this post if you just want to get a dent out of a painting canvas.
If you have any questions get in touch.
Chris
Note: Before You Begin: When to Call a Professional
The DIY repair method detailed above is a permanent, structural fix using modern studio materials. It is perfect for your own artwork, everyday practice pieces, or decorative paintings.
However, if your damaged painting is a valuable investment piece, a historical antique, or a sentimental family heirloom, do not attempt a DIY repair.
- Irreversibility: Artist-grade PVA glue is highly durable but permanent. It cannot easily be undone if a mistake is made.
- Devaluation: Improperly patching a valuable painting can permanently lower its market value.
- The Professional Alternative: A trained art conservator uses specialized, microscopic re-weaving techniques and conservation-grade adhesives (like BEVA 371 or sturgeon glue) that can be safely reversed in the future without damaging the original fabric.
If your artwork holds high financial or historical value, contact a local professional art restorer for a consultation first.


Thank you. Clear, concise instructions. And a beautiful job!
Glad you found it helpful, Rita ~ Chris
Hi Chris,
I have a 19th century landscape painting that has a big crack/hole where the canvas is peeling back about 1.5 inches square, so quite large. It is in a large panel of blue sky, so hard to camouflage. I don’t know if a patch would work well since the canvas is quite dry and might crack if I try to flatten it. Any ideas on how to repair it? Is there a way to relax a dry canvas? Is re-lining the only option? If so, I don’t think I can do that myself, or do you know a good website that explains re-lining for amateurs?
Hi Deborah, As your painting is a good age I would suggest contacting a local museum or art gallery, who should be able to put you in touch with a professional art restorer. These organisation use these services regularly. I wouldn’t suggest trying to release the canvas yourself on such an old painting ~ Chris
What if it is made of carton? I do not think it could be easily fixed.
Any suggestions, please let me know.
THE IMAGES:
https://imgur.com/a/R8724tC
Hi Ross, that looks like a print, as you say not an easy fix. One option might be to photograph the picture, repair the image in photoshop, and have a new print made ~ Chris
Hi there! We have a canvas painting at my Grandmas house that was torn when it fell on a TV. It was painted during WW2 in Germany and brought back by my great Uncle. It isn’t a famous artist or anything but I have no clue how to fix it – or more importantly who to send it to. Do you have any suggestions? I can do the first bit of this but I am certainly no painter. 😂 thank you!
Hi Tiffany, try getting in touch with your local museum or large gallery, they should be able to put you in touch with a painting restorer as they use this kind of service ~ Chris
Thanks for the lesson on repair. My canvas is ripped almost exactly like yours but I painted mine with acrylic paints. I assume a gel medium for acrylics would work to help fill out the break in the canvas when I go to repaint the area?
Yes acrylic gel would work to fill the indention left after repairing the canvas. You may not need it however, acrylic dries fast and can be put on thick, which may be enough to fill the area. Just be sure to try and match the painting’s surrounding texture when you apply paint/gel to the damaged area ~ Chris
Chris, can you contact me?
I have a damaged canvas that I would pay you to fix if you are willing??
jarombarlow@gmail.com
Hi Jarom, Use the ‘Contact Me’ link above and email me a photo or two of the damaged canvas, that way I will be more able to advise ~ Chris
Hello, I have a piece of art from my late Grandmother that has a hole in it, was wondering if you could repair. Can send more details if you’d like. This painting means so much to me so hoping you can help.
My email is listed and phone is 339-203-2734
Hi Jessica, email me through some photos of the damage and I can tell you if I can repair it for you chris@chrischalkart.com ~ Chris
Hi, thank you so much for publishing this.
My partner is an artist and just had a nearly complete piece blow over into the edge of a table.
I understand how to tighten a canvas, as well as how to patch.
I’m wondering–if you thought both were necesary (dent that tore eventually…),
in what order would you do these? would you wet the canvas to tighten it up, and then glue the patch??
or the other way around.
thank you!
Hi Stuart, without seeing the damaged painting it’s hard to advise, but usually it’s best to patch the canvas first, then tighten. Feel free to email me a photograph of the damage and i can advise further ~ Chris
After you are done, how noticeable is the tear? I have a painting that I did that I want to enter in an art contest. I was just wondering if the judges would notice.
Hi Zemma, if you use a good amount of paint to touch up your painting after applying the patch to the rear, the repair should be unnoticeable ~ Chris
Looking for expert who can repair canvas painting spoilt by fungus and moisture
Try contacting your local museum or art gallery, they use art restoration services regularly. Good luck.