Let me start by saying, there is no actual need to varnish a completed oil painting if you don’t want to. Oil paintings dry to a very robust finish, and I know many professional artists that sell all of their paintings un-varnished. However, varnishing a painting can make a considerable difference to it’s final appearance; enhancing its darks and lights, evening out contrasting shiny and matt areas, and also getting rid of any chalky sheen that can sometimes appear on a completed oil painting.
There are many different types varnish available, however the main three are:
• Damar varnish, which is one of the most popular varnishes, even though newer varnishes have been introduced since its development.
• Gloss varnishes, these are chosen because they give the brightest, deepest colours. Paintings with gloss varnish have a lot of reflection.
• Matt varnishes, these avoid reflections but the colours appear slightly duller.
I personally apply a coat of Winsor & Newton retouching varnish to all my paintings once they’re finished and dry. Retouching varnish is a semi-gloss UV resistant varnish which gives temporary protection to recently completed oil paintings. The retouching varnish allows the oil painting to dry and at the same time give the oil painting a temporary gloss finish. After 6 to 9 months when the oil painting is completely dry, regular artist varnish can be applied if desired, without the need to remove the retouching varnish.
I recently varnished one of my completed oil painting and took a series of photographs, as well as short video, to show you the varnishing process from start to finish:
Varnishing Photographs & Explanation
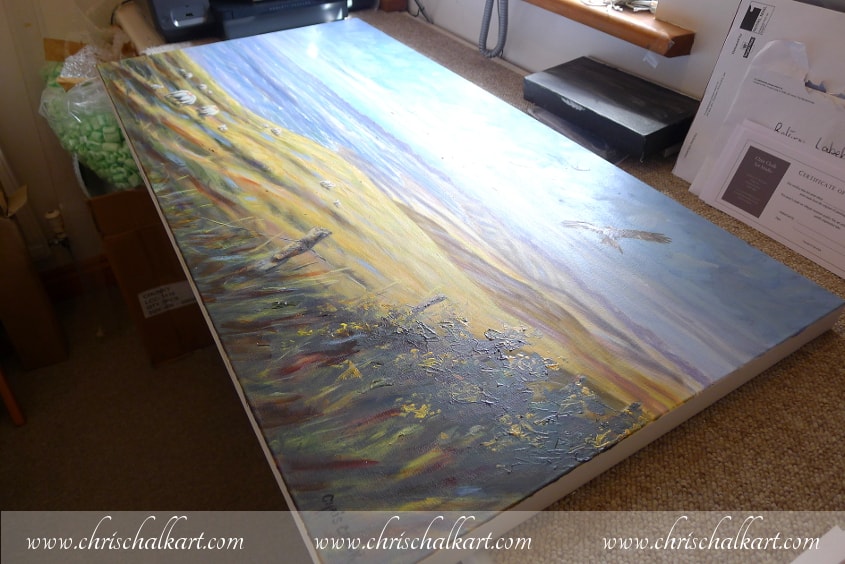
You can see in the photograph above that my painting has some areas that are shinier than others, as well as a chalky glaze effect across the entire painting, these are the things I’m going to sort out by varnishing. This unevenness can be due to many things, such as what or how much painting medium I mixed with that area of paint, which colour paint I used for that area, how thick I applied the paint in that area.. e.t.c

In this close up photograph you can see that the areas where I used red paint, it’s actually alizarin crimson, and also the areas where I used thicker paint, have this unwanted shiny appearance.
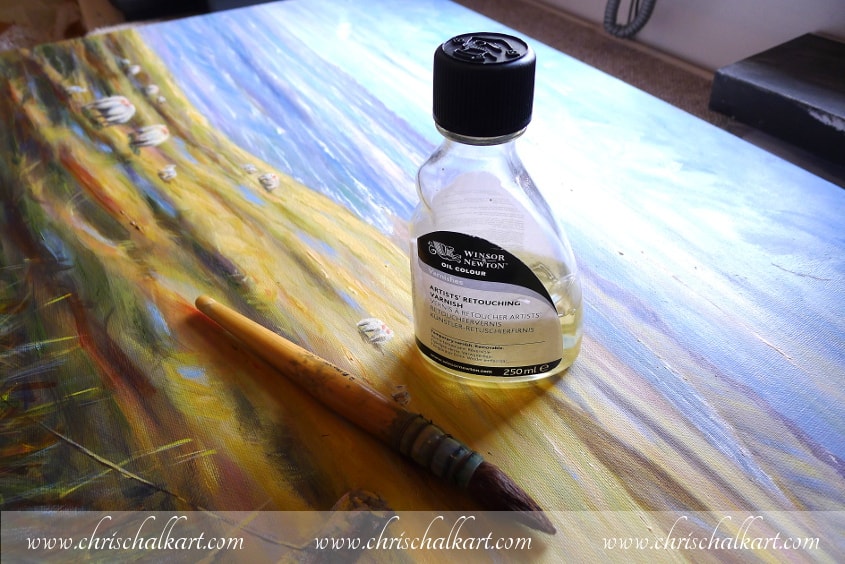
To fix the issues mentioned above I going to apply a coat Winsor & Newton retouching varnish to my painting, using an old water colour brush. This brush is actually a lovely Da Vinci squirrel mop, so it’s rather a shame to use it for varnishing my paintings, but it’s the best brush I’ve found to do this, so it can’t be helped.
With the canvas flat on a table or work area, I start at one corner and work down the canvas top to bottom. Then I move across to another area and do the same, working down the canvas to the bottom.
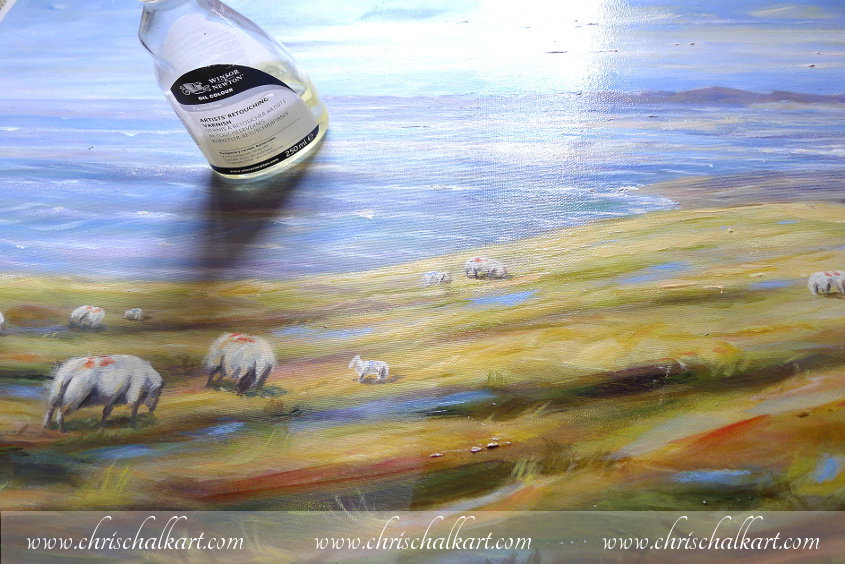
In the photograph above you can plainly see the area that I have covered with the retouching varnish, which makes it easy to keep track of where you’ve already applied the varnish. You can also see the difference the varnish had made to the vibrancy and brightness of the colours already.
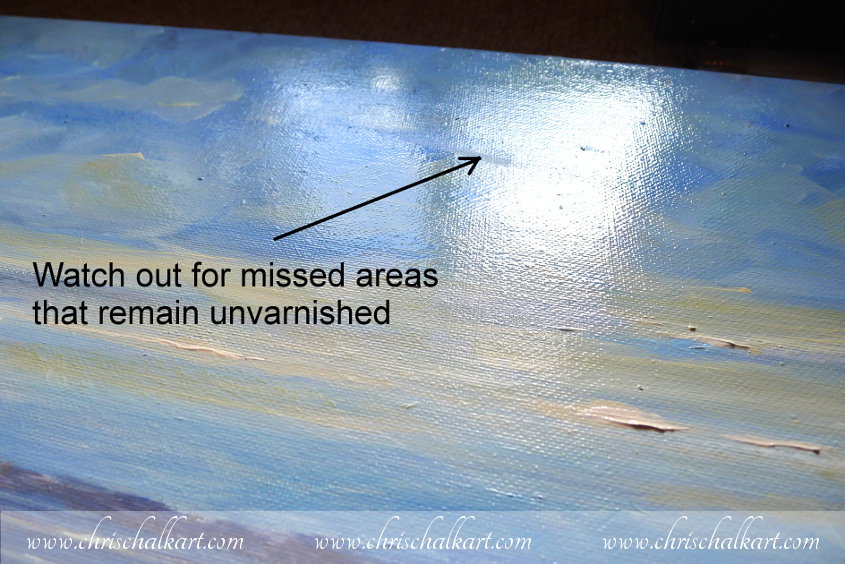
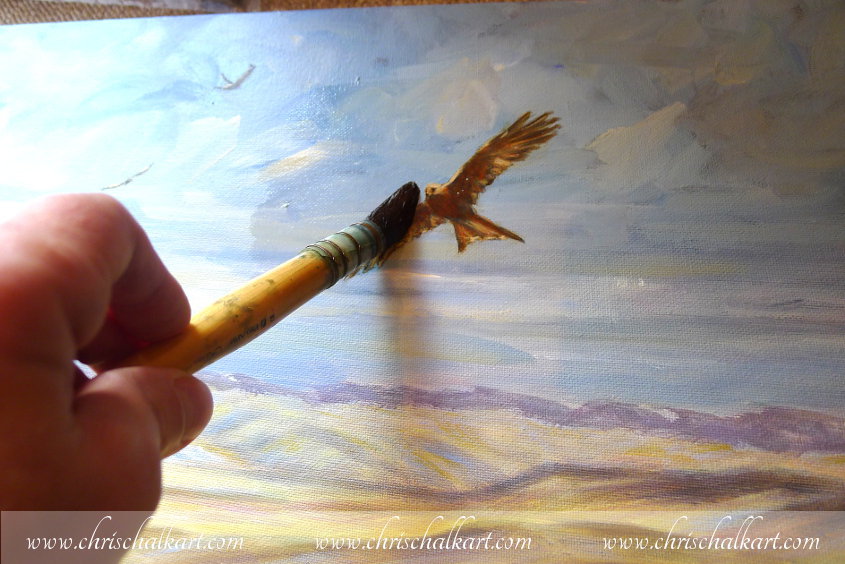
Be careful as you work across your painting, to check you haven’t missed any areas, as I had done in the photograph above. The best way to do this is to tilt the painting up, so as to get the light source glancing across the surface, this highlights any areas that have no varnish on them as they appear dull.
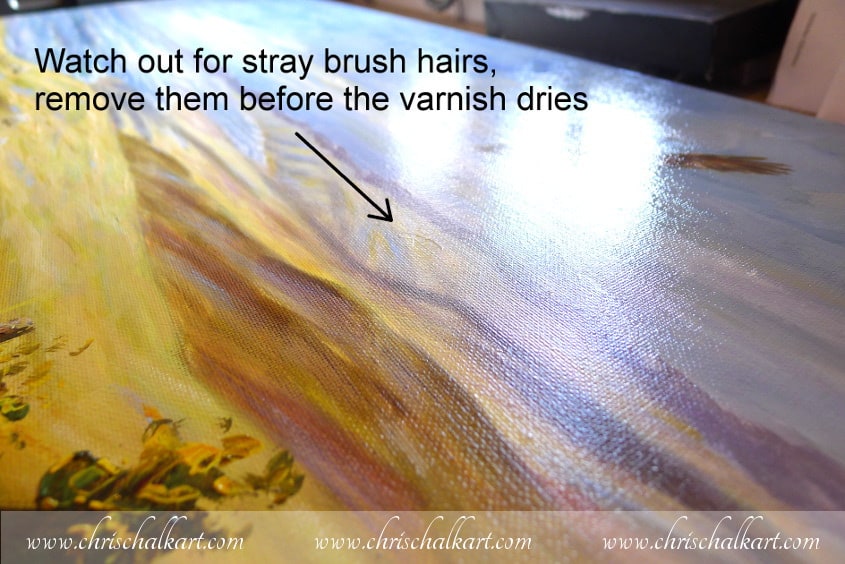
Also check to see if any hairs have come off your varnishing brush and become stuck in the varnish on your painting. These can easily be picked out with the tip of the brush, or any other brush you might have handy. Make sure you do this though, as once the varnish is dry these hairs will become impossible to remove and will be part of your painting for ever more.
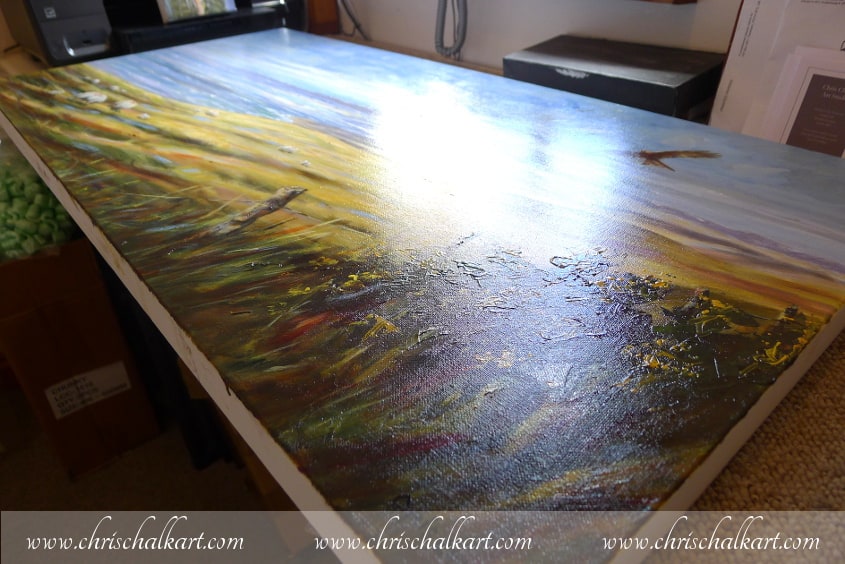
This is the painting with the varnishing complete. I’ve checked the entire surface against the light source and touched up and areas that I had missed on my first pass. This photograph shows how much more vibrant the painting now looks with it’s new coat of retouching varnish applied.
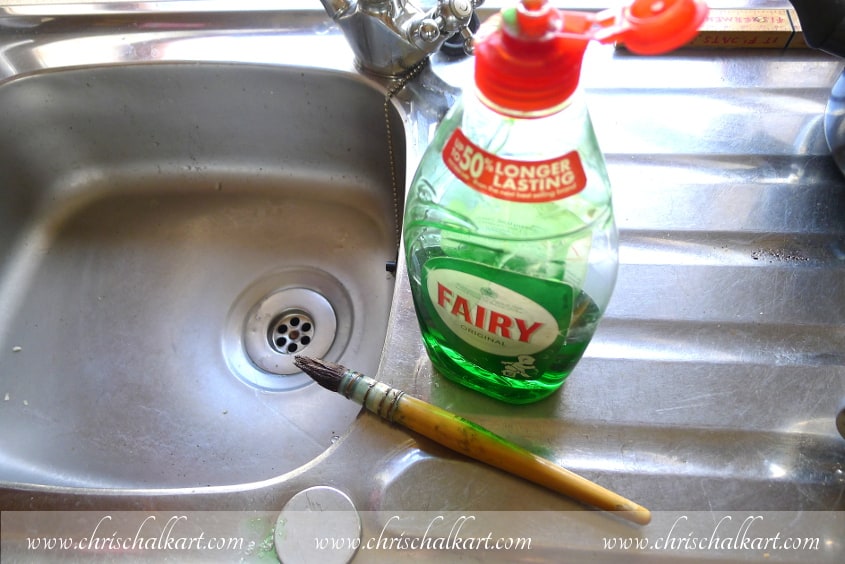
Retouching varnish can be easily removed from your brushes with washing up liquid and warm water. Make sure you do a thorough job here, and any varnish left on your brushes will dry rock-hard and your brush will be ruined.
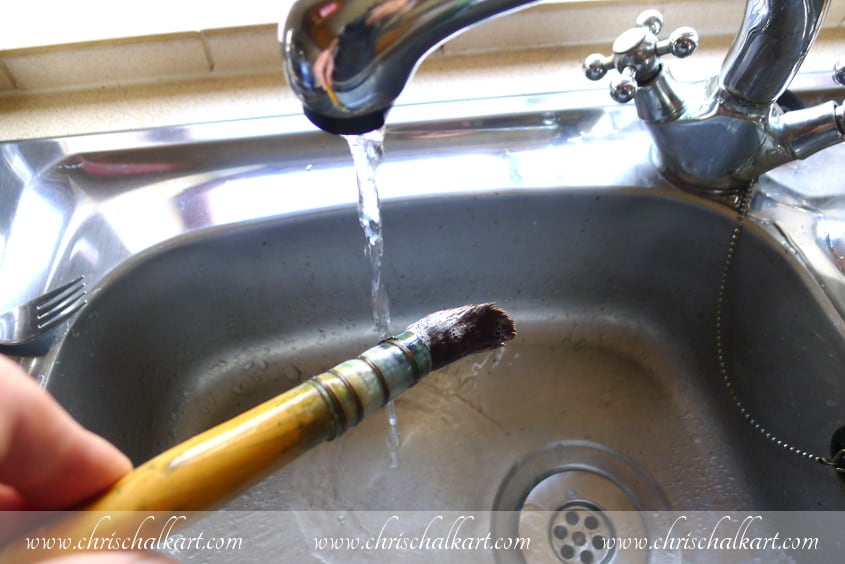
Rinse your brush off several times, working the washing up liquid into the bristles and then rinsing again. I usually go through this process about three times to be sure there is no varnish residue left on my brush.
Varnishing Video
Make sure your speakers are turned up.
If you found this post helpful please share it with your artist friends or anyone you think might find it helpful.
Happy painting!
Chris


Hi Chris, I really enjoyed watching and reading all about your painting process especially your post on varnishing it was very informative. I paint in Acrylics myself as the drying time is shorter, so varnishing them is a quicker process if you are looking to sell them. I really like oil paints though, the colours seem richer and would like to make the switch. Can I ask how long you would leave an oil painting to dry before using the re touching varnish? As if I started now I would need to wait 9 months or so before I could sell one!!! and life’s too short for that!! Hope you don’t mind my question. Jane
Hi Jane, I’m glad you’ve found some of my posts helpful. I use a product called Liquin, which is a Winsor & Newton product, that I add to my paint when I’m painting and which speeds up the drying time considerably. I can varnish a oil painting with retouching varnish around 2 weeks after completion. The beauty of retouching varnish is the paint continues to dry through the varnish, so as long as the paint is touch dry, you can varnish with retouching. Hope that helps, Chris
Hi Chris, great article on varnishing an oil painting. Not being an artist but a picture framer, I’ve learnt a lot which I’m sure will be helpful to some of my clients.
Thanks Bev, much appreciated, I’m glad it was insightful and helped explain the process. Chris
Hi Chris,
Just came across your website and it’s very useful indeed. The tips are great, especially for someone who is self-taught and tarting out with painting
I’m glad you found my website useful Akhil, happy painting.