No matter how careful we are with our artwork, canvas paintings can get damaged. Some of the most famous paintings in the world have sustained damage over the years and have needed repairs made to the canvas. What at first can seem like a complete disaster, is in fact usually repairable, so let me show you how to fix a damaged or ripped canvas painting.
* If your painting just has a dent in it, read how to get a dent out of a painting here.
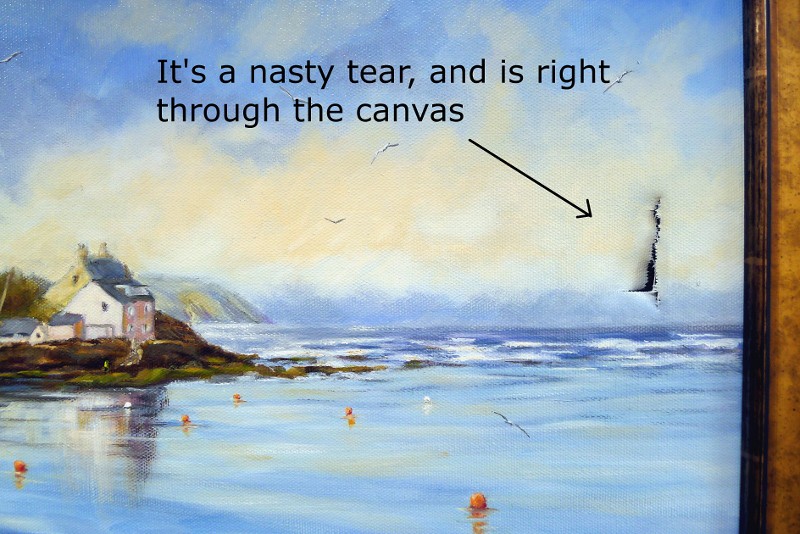
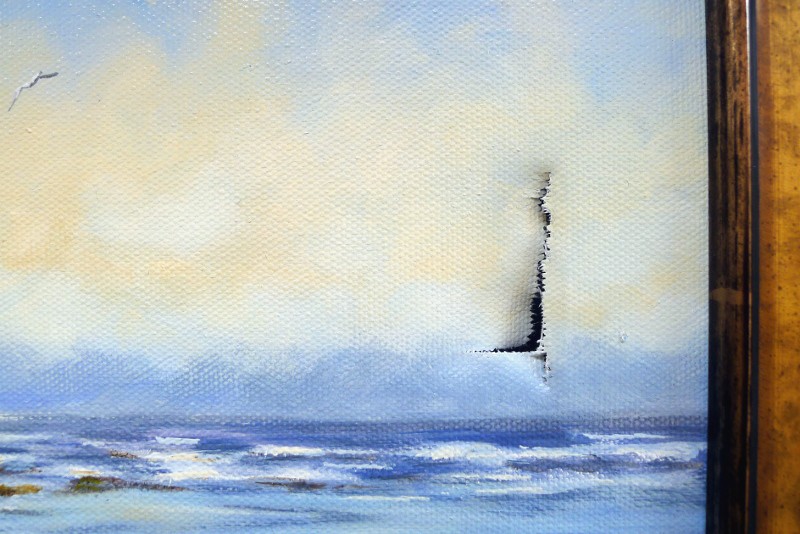
The damage to the painting above happened when a friend who was visiting my studio, accidentally knocked over a wooden print stand, the corner of which went right through this painting as it was on the floor leaning against the wall. You can see the damage to the canvas was quite substantial, not only had the rip gone right through the painting, but the canvas had torn in two directions, both diagonally and horizontally.
You can see here that the fibres of the canvas were pulled apart when the damage occurred, leaving a jagged uneven edge.
If this painting were a priceless Rembrandt I would align all of the individual fibres of the canvas and glue each one back together separately. However, this painting is priceless Chris Chalk, and as he (me) is still here to repaint the damaged area after the repair, I can make a simpler repair.
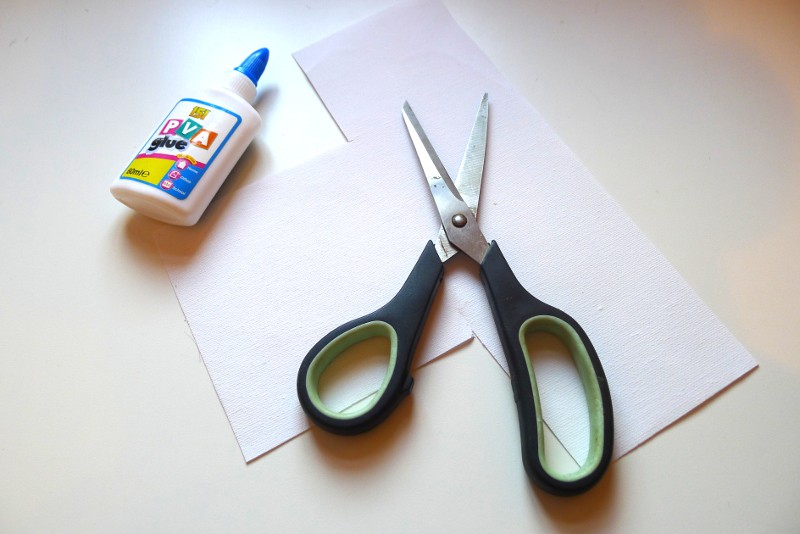
To repair a damaged or torn canvas painting you’ll need:
-
- a piece of canvas the same ( or at least similar) to that of the original canvas.
- a pair of sharp scissors.
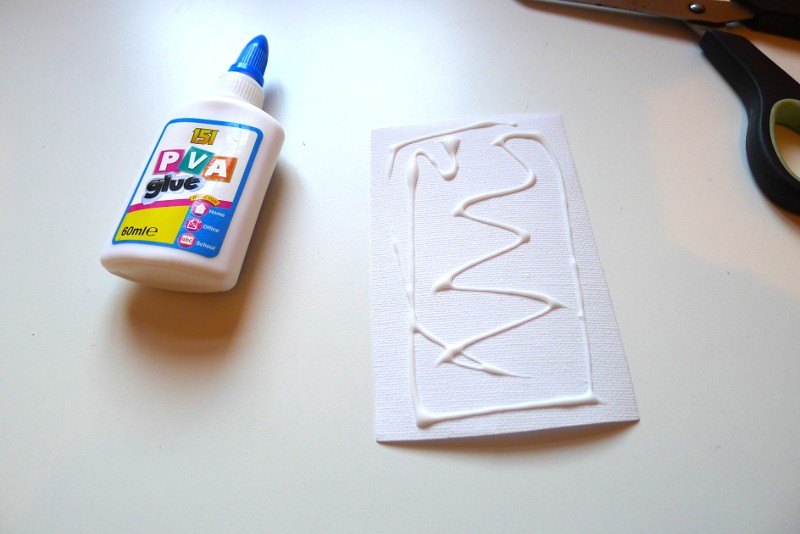
- some acid free glue (in this case PVA – Polyvinyl acetate).
- a flat piece of MDF or hardboard.
- a weight or something heavy to use as a weight.
First using your scissors to cut a piece of your spare canvas to make a patch. Make sure when you do this the patch is large enough to cover the damaged area of the painting, plus at least 3cm extra overlap, so that the patch can be glued to plenty of undamaged canvas around the tear. Once you’ve cut your patch to the correct size, apply PVA glue to one side of it.
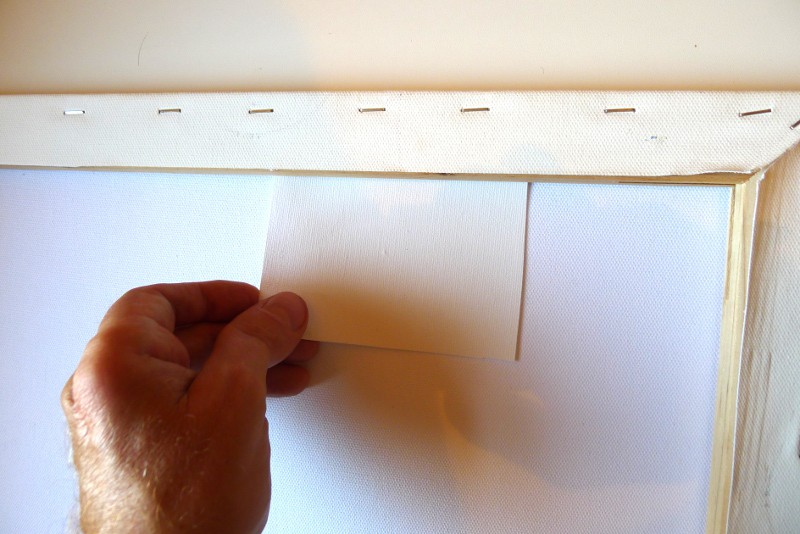
With the painting laying face-down on a clean flat hard surface, offer-up the canvas patch to the back of the painting and push it down into position. Make sure you’ve applied enough PVA glue so that every part of the patch is glued to the original canvas. If you have any excess PVC that get’s pushed out from under the patch just wipe it up with a wet cloth, PVA is water soluble and cleans-up easily.
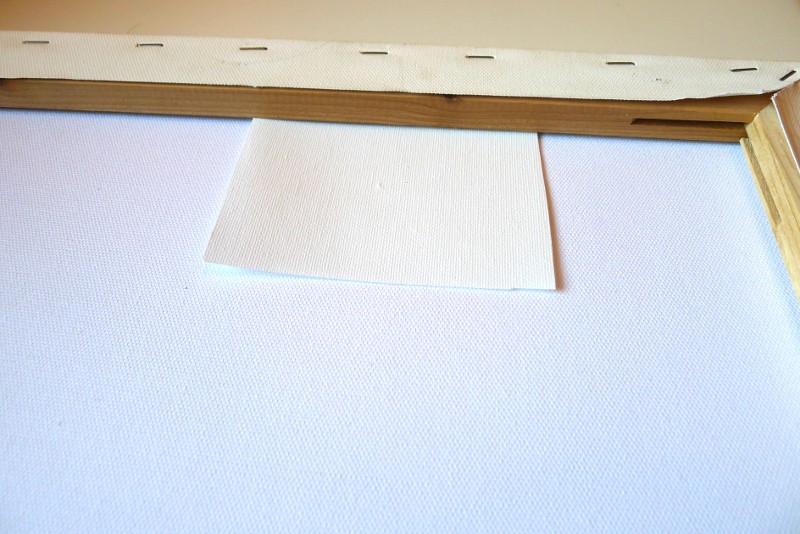
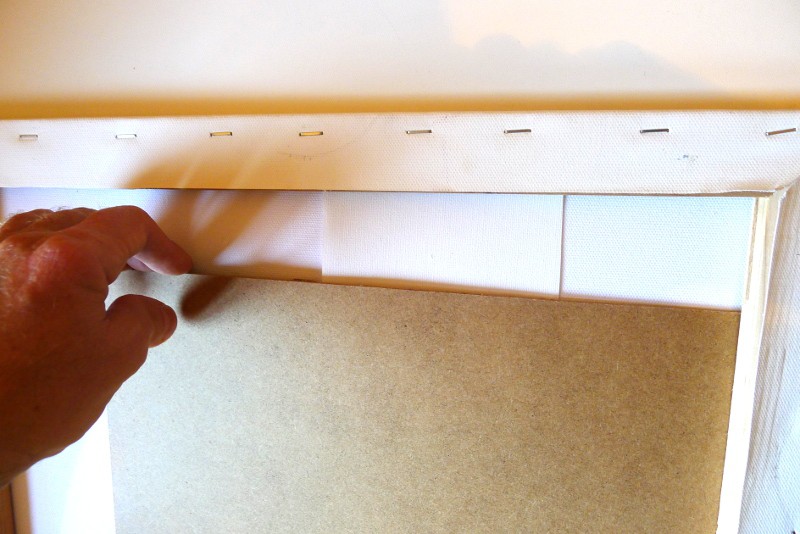
Make sure the new patch is in the correct position and that the damaged area of the canvas is under the middle of the new patch. You can see here, because the damage to my painting was near the edge of the painting, to achieve that I’ve had to push part of my new patch under the wooden stretcher-bar.
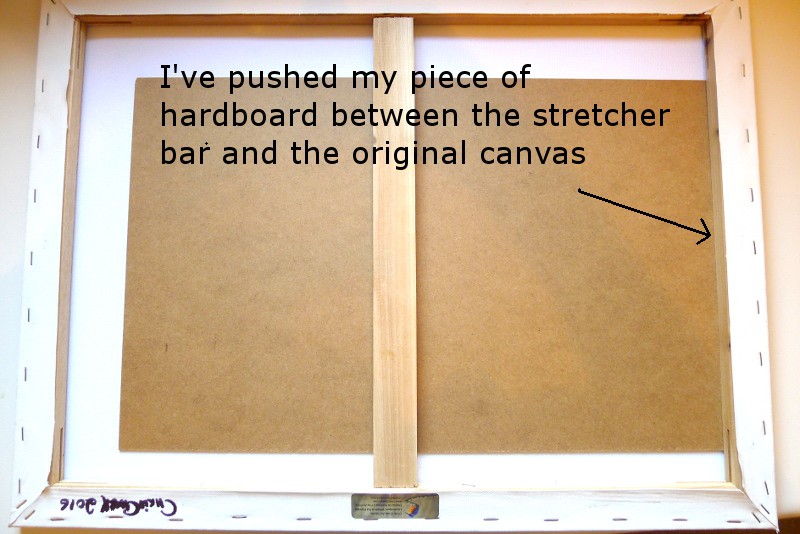
Once the patch is placed in the correct position we need to place another flat surface down onto the back of the patch so that as the glue dries it creates a perfectly flat repair. I’m using a thin sheet of hardboard to do this.
Again, because the damage in my case is very near the edge of the painting, I have had to push the thin sheet of hardboard I’m using between the original canvas and the wooden stretcher-bars, not just in the middle of the painting, but also on the right-hand edge.

